1. The purpose of the sponge resilience testing machine
Standardize the use of sponge resilience testing machine.
2. Detection range of sponge resilience testing machine
Suitable for measuring the falling ball rebound performance of flexible polyurethane foam
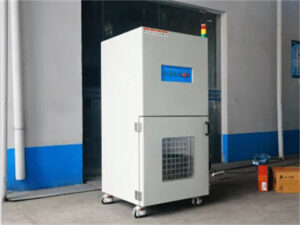
3. Sponge resilience testing machine instrument
HD-F754 sponge resilience testing machine instrument

4.Sponge resilience testing machine project content description
1). Select a 100mm×100mm×50mm test piece from the same batch of samples. If the thickness is not enough, it can be stacked, but it cannot be bonded together with adhesive.
2). Place the equipment on the horizontal platform, pad the feet, use a level, adjust the four feet to adjust the equipment table to the level.
3). Place the sample flat on the test platform
4). Turn on the main power switch on the host, and the LCD display: (Picture 1) Select different languages “Chinese” and “English” according to needs; press “Chinese” and the display is as follows: (Picture 2)
5). The user can choose “500MM (ASTM)” and “460MM (GB/EN)” in the drop height. If you select “500MM(ASTM)”, the “height” of the display will change to 500mm, and the user needs to raise the plexiglass tube to the position of 500 mm. On the contrary, you need to lower the plexiglass tube to the position of 460mm.
6). After the setting is completed, press the “Clear All” button to clear the test results. “Error setting” can be set according to the needs, as shown in the figure below
7.) After all the settings are completed, press the “to be tested” button to change to “testing”
8.) Quickly pinch the release device, and the steel ball will fall freely. The test data will be read out directly, and you can choose “abandon retest” or “use data” for the test results. Press the “abandon retest” button to not save the test results. For example, press the “use data” button to save this time. test results. The system returns to, if it is a test, it will display 1 between “abandon retest” and “use data”, and if it is two times, it will display 2.
9.) Repeat the above steps, continue to do the test but do not press the “Clear All” button, continue to do “Test 2” until a sample is tested 5 times and save the data, the system display will show a sample after 5 tests The average value is recorded for the test results.
10.) The test results can be exported through the “USB” data interface, as shown in the figure below:
11.) After completing the test, turn off the power (Power).